
HomePlantBot care guide
ZZ Plant Propagation methods
NC State lists division and leaf cuttings for ZZ plants.
ZZ propagation: division or leaf material
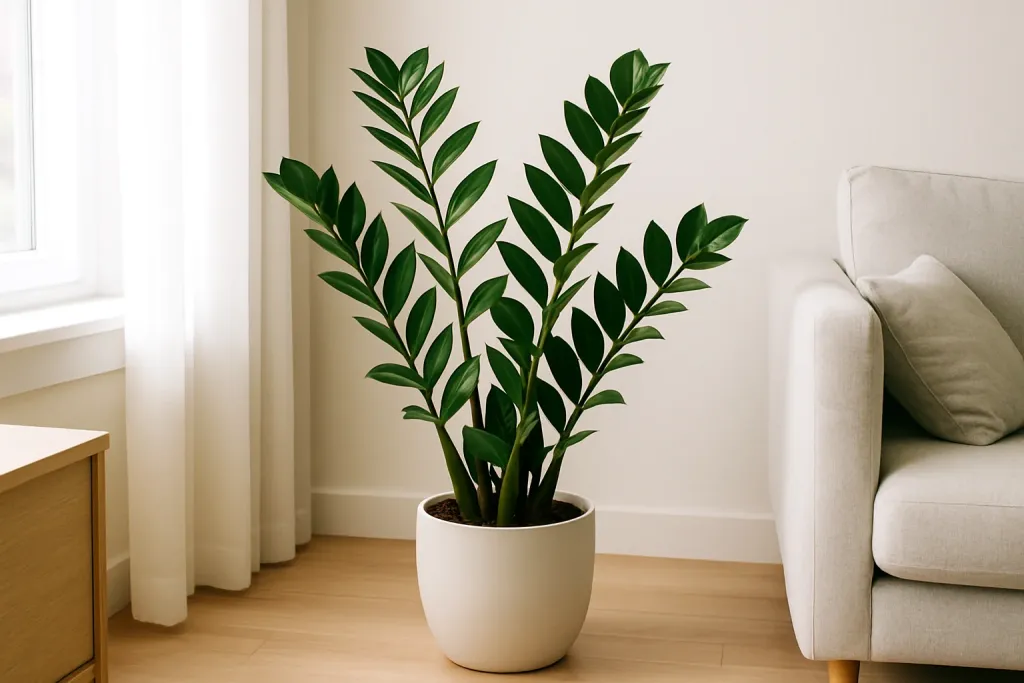
NC State lists division and leaf cuttings for ZZ plants. The upright leafy structure is a compound leaf, not a vining stem. Use a viable rooted division or healthy leaf material and expect slow development. This guide does not recommend generic woody-stem air-layering or vine-style wet sticks.
What you’ll learn in this article
- Understand the key methods to propagate ZZ plants, from beginner to advanced techniques
- Learn step-by-step guides for water and soil propagation, division, and air-layering
- Discover pros, cons, and best timing for each method
- Master aftercare strategies to ensure long-term plant health
- Know how to troubleshoot common propagation issues with confidence
Affiliate disclosure: HomePlantBot may earn from qualifying purchases through the Amazon links below, at no extra cost to you.
Introduction to Propagation
The ZZ plant (Zamioculcas zamiifolia) is a popular houseplant known for its glossy green foliage, drought resistance, and ability to flourish with minimal care. It grows slowly, but its hardiness makes it a favorite for plant lovers of all levels.
Why propagate a ZZ plant? Whether you want to expand your plant collection without spending more, share with friends, or preserve a plant with personal value, propagation is a rewarding process. However, patience is essential—ZZ plants propagate slower than other houseplants.
Before you begin, start with a healthy mother plant. Robust stems and an intact root system are key to successful propagation. In this guide, we’ll explore all major ZZ plant propagation methods, from common techniques like stem cuttings to more niche ones such as air layering and using wet sticks.
Stem Cuttings in Water
What it is:
This common method involves cutting a stem from the mother plant and rooting it in water before transplanting it into soil.
Best Time to Propagate:
Late spring to early summer, when the plant is actively growing.
Step-by-Step Instructions:
- Select a healthy stem with at least two leaves.
- Use sterilized scissors to cut just above a node.
- Place the cut end into a container of clean, room-temperature water.
- Set the container in a spot with bright, indirect light.
- Change the water every 5–7 days to keep it fresh and prevent bacteria.
- Wait for roots and rhizome nodules to appear—this may take 4–8 weeks.
Pros and Cons:
| Pros | Cons |
|---|---|
| Easy to monitor root formation | Long timeline for development |
| Low initial cost | Risk of transplant shock when moved to soil |
Stem Cuttings in Soil
What it is:
Similar to water propagation, but the cutting is placed directly into a potting mix to promote root development without water transition stress.
When to Use:
Ideal for avoiding root shock during transitioning.
How-To Guide:
- Prepare a well-draining mix using cactus or aroid soil blended with perlite.
- Make a clean cut below a node on a healthy stem.
- Dip the cut end in rooting hormone (optional for faster root formation).
- Gently press the cutting into moist soil; do not bury too deep.
- Cover loosely with a clear plastic bag to retain humidity.
- Keep warm and check moisture every 10–14 days. Avoid overwatering.
Timeline and Comparison:
- Several weeks for initial root formation.
- Rhizomes may take longer to develop than in water.
- Less transplant shock compared to water-rooted cuttings.
Air-Layering Technique
Generic woody-stem air-layering instructions are not a supported beginner method for this plant in the cited guidance. Use the division or leaf-cutting route instead; do not notch a leaf as though it were a woody, nodal stem.
Helpful products for this care problem
Helpful products for propagation and recovery
If this is the issue you are solving, these tools can make the next step easier. They are optional, but they match the care problem covered in this article.
 Indoor potting mixA useful base when refreshing compacted or tired soil.View on Amazon (paid link) ↗Clip-on grow lightUseful for dim rooms, winter care, and plants stretching toward light.View on Amazon (paid link) ↗Room humidifierUseful when dry air causes crispy leaves or fern decline.View on Amazon (paid link) ↗
As an Amazon Associate, HomePlantBot may earn from qualifying purchases.
Division and Offshoots
Why Use Division?
This is the fastest and simplest way to propagate ZZ plants, particularly when repotting mature specimens. ZZ plants grow from bulb-like rhizomes, which naturally produce offshoots over time.
How to Divide a ZZ Plant:
- Remove the entire plant from its pot and gently shake away soil.
- Locate natural separations between rhizomes—look for clusters with stems and roots.
- Use a sterile knife to cut between clusters. Make sure each division has at least one stem and a portion of rhizome with roots.
- Pot each new plant in fresh, well-draining soil.
- Water lightly and give time to adjust in a low-stress environment.
Pros and Cons:
| Pros | Cons |
|---|---|
| Instant new plants with established root systems | Limited by the number of rhizomes |
| Low risk of failure | Can stress the mother plant if done improperly |
Wet Sticks and Nodes
Do not apply a vining-aroid wet-stick recipe to an unidentified piece of this plant. Choose viable material using the division or leaf-cutting instructions and identify its base and growth structure first.
Aftercare and Transplanting
Once roots or rhizomes develop on your propagated cuttings or divisions, proper aftercare helps ensure long-term success.
- Gradually introduce new plants to standard household conditions by increasing exposure over a week.
- Pot with breathable materials and ensure adequate drainage holes.
- Allow the top 2 inches of soil to dry before watering again.
- Begin fertilizing gently after 2–3 months using a diluted houseplant fertilizer.
For comprehensive guidance, see our complete ZZ Plant Care Blueprint for tips on soil selection, lighting, and watering.
Troubleshooting and Tips
Common Problems:
- Cuttings Rotting: Often caused by excess moisture or poor ventilation.
- Lack of Roots: May indicate insufficient light or too little time has passed.
- Yellowing Leaves: Typically due to overwatering or plant stress.
Propagation Tips:
- Always use sterilized tools to prevent infection.
- Handle cuttings as little as possible to avoid disturbing developing roots.
- Label containers with dates to track progress over time.
- Above all, be patient—ZZ plants grow on their own schedule!
Conclusion
There are many methods to propagate your ZZ plant:
- Fastest: Division and offshoots
- Most Visual: Stem cuttings in water
- Advanced: Air-layering and wet sticks
Every ZZ plant propagates at its own pace. Whether you’re just starting out or experimenting for fun, propagation helps you connect more deeply with plant biology and care. Enjoy learning as your new plants grow!
Ready to care for your new ZZ cuttings? Check out our full ZZ Plant Care Blueprint for watering, lighting, and soil tips to help them thrive long after propagation.
Need help choosing the next care step?
If the symptoms in this article match your plant, use Plant Bot or the rescue checklist before buying anything. A quick diagnosis helps you fix the actual cause, not just the most visible symptom.
Quick decision checklist
- Use firm healthy tissue for cuttings.
- Keep warmth and humidity steady.
- Avoid soggy propagation media.
- Expect roots to take time.
Sources for these care checks
These references support the corrected principles and evidence limits above; they do not establish trials or success rates for every cultivar, product or growing setup.